Sunday, April 12, 2015

Kitchen Renovate and Revamp

Here we have another wonderful kitchen revamp project we did for Barb out in Bethel Park. Not only was the job satisfying, the time there was a great deal of fun!

We started with a kitchen in need of updating and a budget that prevented new cabinets.

So we planned on unifying the color palette, resurfacing the existing cabinets and texturizing the walls. An addition of some wainscoting was added too.

There were 3 different colors on the walls including the green here in the front window. The tile was also a mismatch with other parts of the kitchen, it was installed improperly and it was going to be another item to get removed. Framing around the doorways and front window area would all be removed too. The overall theme was to simplify.

Gotta love those handles on the fake woodgrain!

We started with removing the tile on the left side of the kitchen which didn't go to bad.

On the other side we found wallboard installed with the tile wasn't supported on the edges, and when we tried to remove the tile the wallboard just broke apart.

The corners under the cabinet were also left with no support. There was pieces of foamcore used to shim the board against the cabinets. Not really a good thing.

We removed the wall behind the sink area and added 2x4 supports to support new drywall. Once in place we textured the walls with a soft stucco finish.
Here is the new wall with our texture.

Next we scrubbed and degreased the cabinets and primed them for painting.

The doors were all removed and painted out of the kitchen. Base cabinets and drawers remained in the kitchen.


Next the walls were painted with a lovely soft yellow.

Traditional pieced Wanescoting was added in the alcove and on the right side of the kitchen. The cabinets and wainscoting were painted with a warm white.

Then a grand piece built by the homeowners great grandfather was replaced in its spot to be properly accented.

Here is the wainscoating on the right side of the finished cabinets. New hardware and hinges were also installed.

And is the final product.

Warmed and simplified!

No more tile, broken spaces and multiple colors.

A great shot of the texture and wanescoting and satisfaction of a job well done.

Enjoy!

Tuesday, March 10, 2015

Wainscoting Install in Whitehall

A wonderful wainscoting install popped up in Whitehall last week and what a joy it was to do!

Wainscoting Install
The homeowner selected a very nice hardboard from Lowe's. Traditional wainscoting is comprised of individual interlocking boards and would be much more labor intensive.

Wainscoting Install
Here the chair rail and baseboards were in great shape, no need to remove them if it can be avoided. With the traditional wainscoting, it would all need removed. The hardboard can be cut to fit between the existing moulding.

Wainscoting Install
After set up, with the remaining furniture and floors covered, we chipped away any paint curls and defects in corners that would inhibit the board from laying flat against the walls.

Wainscoting Install
We cut and dry-fit all the panels before installation.

Wainscoting Install
Once all was in order, we applied wallboard adhesive and nailed it in. If you have a few minor seams and gaps showing at this stage, no worries. In the finishing stage they will all go away.

Wainscoting Install
Here we are, all the boards fit, glued, nailed and finished. Caulking the edges, seams and nail holes is a great finishing process.

Wainscoting Install
Then a fresh coat of paint to make it all come together. The hardboard panels come primed and ready to paint.

Wainscoting Install
The upper walls were painted a darker color to offset all the white trim.

Wainscoting Install
And there you have it.

Wainscoting Install
Another fun and rewarding project completed! Another happy customer.

Wainscoting Install
Enjoy!


Tuesday, March 3, 2015

Kitchen Redo! Another Remodeling Job

Kitchen Redo - Another Remodeling Job
Here we go again, another kitchen in dire need of a redo!

Mix a hundred year old house together with Hendersonworks and you get a recipe for remodeling!!
Before remodeling
We started with old wallpaper on older plaster walls, damaged woodwork and quite a few holes.

Before remodeling
Even a large poorly patched area of the ceiling.

Before remodeling
Cabinets were not on the original list of things to redo but once the rest of the kitchen was done the cabinets really needed a redoing of their own. The cardboard on the cabinet door was actually glued on.

Before remodeling
Some of the paper was already falling off and there was a large hole next to the back door from the dogs pressing to go out.

Before remodeling
Overall needing a face lift. Yep this is another remodeling job.

During kitchen remodeling
Here was an interesting find. Some sort of green patchwork under the wallpaper.

During kitchen remodeling
Lots of cracks. That's usually why wallpaper goes up in the first place.

During kitchen remodeling
Let the patching begin.

During kitchen remodeling
If you haven't had a chance to sand plaster and joint compound this will help you to understand the mess of it all. But it is progress.

During kitchen remodeling
Once the ceiling was evened out and sanded a coat of PPG Manor Hall Flat White was applied. We'll need to do something about the old ceiling fan too. Also the new wall color is going on behind the refrigerator.

During kitchen remodeling
Wall color in entryway. Woodwork still needing attention. To help with the woodwork and safety we called in Rian Corcoran. You can see some of his work on Instagram.

During kitchen remodeling
Now to the fun part, cabinets. Oh yeah, did I mention we had lead based paint on all the woodwork. Check Rian's Feb 18th post for our test!
This caused quite a few issues. Everything was covered in plastic and any loose paint chips were scraped and all contained lead chips were removed. A coat of primer/sealer was then applied.

Painting Kitchen
Here is the woodwork all primed. Without a major budget, we were limited on how much work we could do on the wood. Minor cracks and hard edges were filled but sanding was limited to the layer of primer.

Painting Kitchen
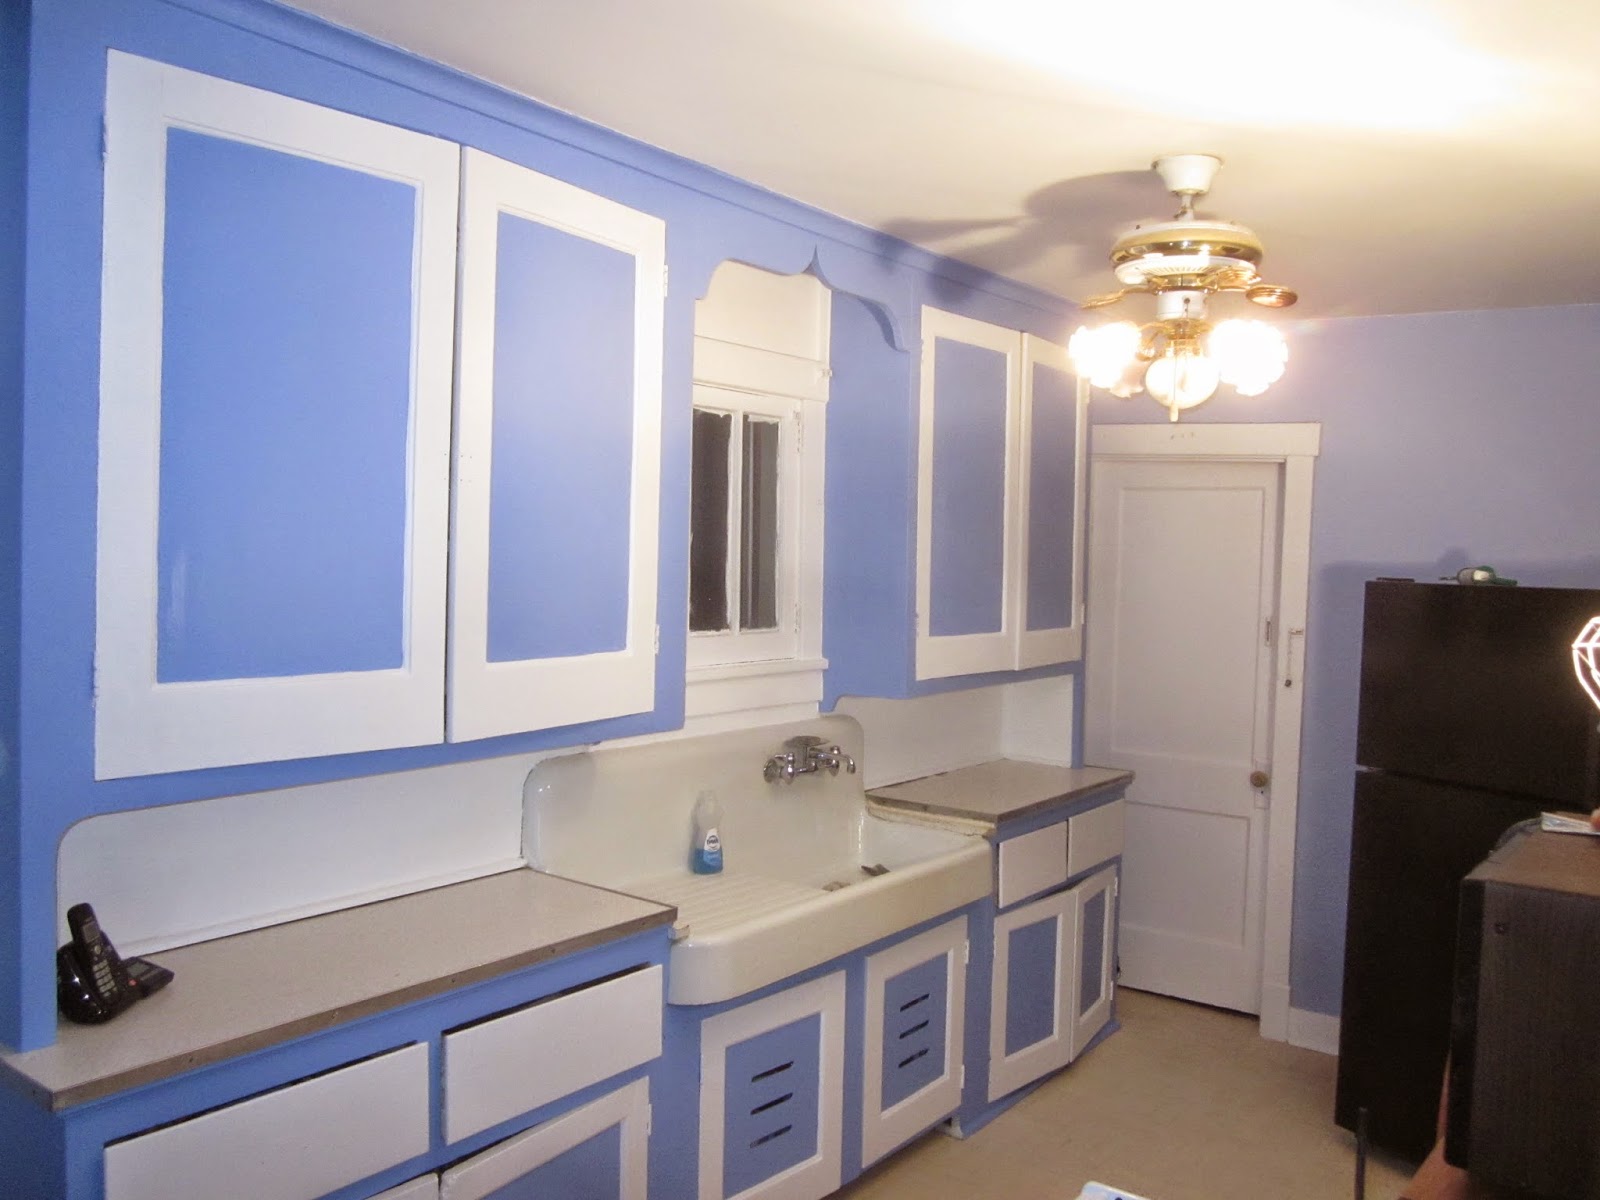
Now onto the cabinets. Yes one color would be easy, but sometimes beauty overrides the basics.

Painting Kitchen
Using a darker blue we did a two tone with white on the cabinets. The homeowner was in complete agreement and exceedingly joyful with the suggestion and result

Painting Kitchen
Here we are, before hardware and final touches.

Finished kitchen remodel
In older homes, the basic medallion above a ceiling fan adds a very nice touch.

Finished kitchen remodel
This awesome and functional transom was going to be removed by the workers who replaced the old back door. Our advice to the homeowner was a resounding NO! These little touches in an older home add character and charm. Especially if they still function!


Finished kitchen remodel
Hardware installed. Another swell job completed!
 
Before kitchen remodel
A couple parting before and afters. Entry area before...

After kitchen remodel
finished.

Before kitchen remodel
View toward the archway before...

After kitchen remodel
After.

Before kitchen remodel
Before...

After kitchen remodel
After. A rewarding job in the end!

After kitchen remodel
Enjoy!!