Showing posts with label Bathroom. Show all posts

Tuesday, April 2, 2019

Custom Painting with a Vibrant Swirl

From drab to fab this place really changed!! We were able to transform this space with vibrant colors and sparkling accents!! The process was time consuming but the result was pretty grand.


Here's was our starting point.

Working with Eccentricity Design, a local interior designer,  we started out by getting the walls covered with the vibrant colors she selected


We used Sherwin Williams Emerald for this job and choosing the right walls also made for some dynamic features.

A pretty nice feast for the eyes.

After some test patterns done on sample boards the owner chose this phenomenal swirl design.

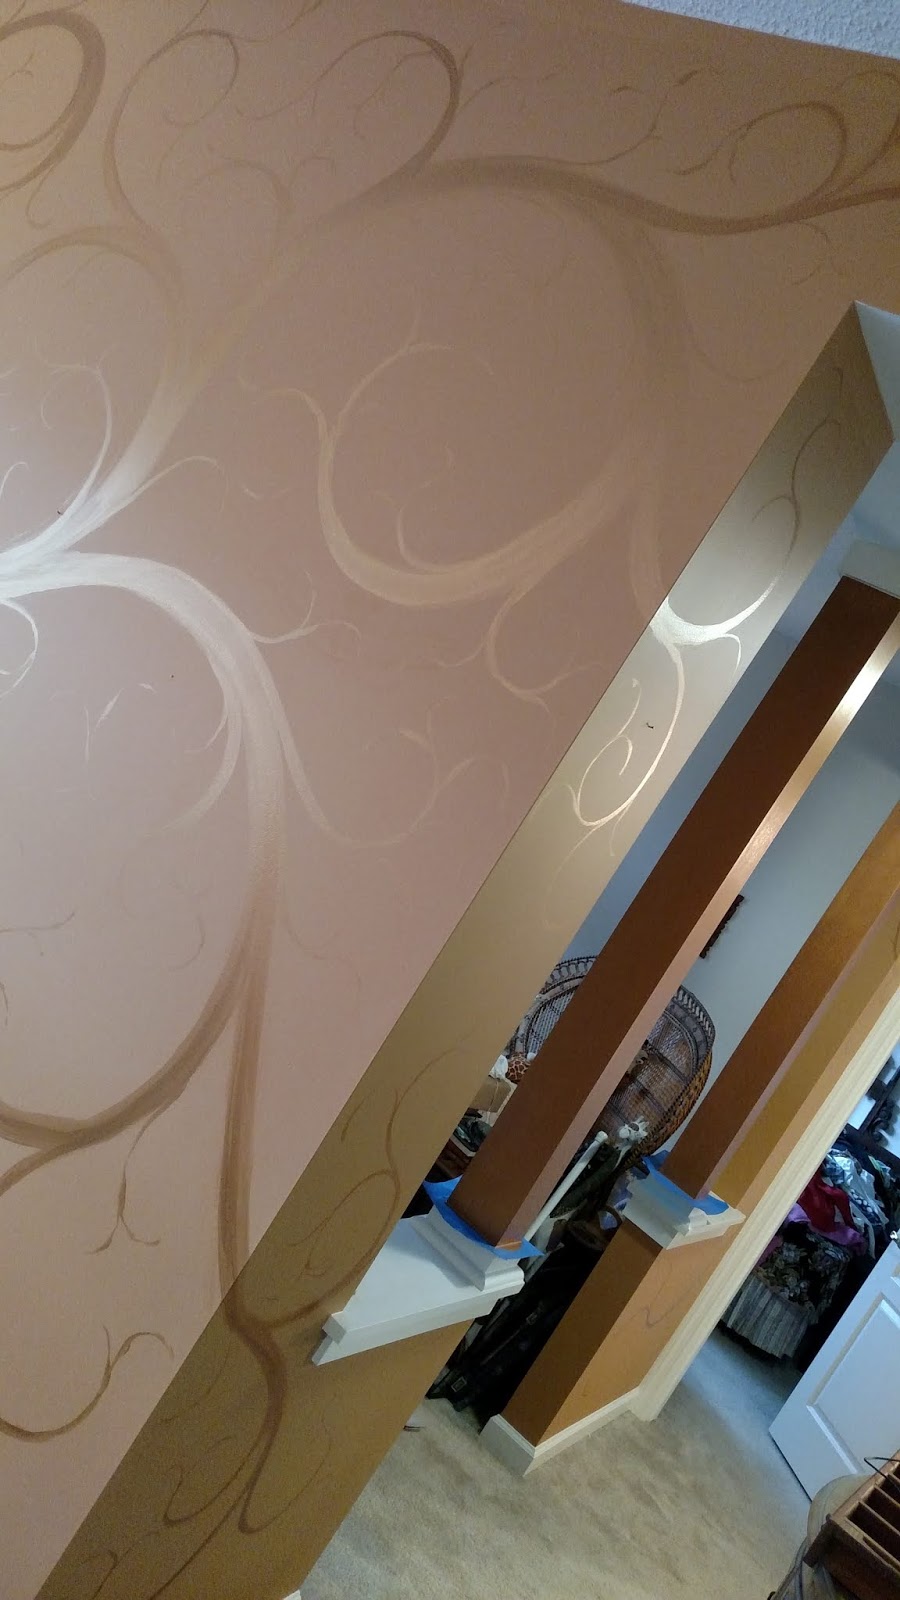
Using a metallic "Tequila Gold" the base pattern was painted free hand onto the wall with the pattern wrapping around the corners.

Once the main swirls were added to the wall using 4, 3 and 2 inch brushes...

the secondary and tertiary swirls were added using 1 inch and smaller brushes

Subtle accents were added to the secondary and tertiary swirls with a Bronze glaze mixture.
And the swirls kept rolling.

Most of the details were placed on the upper half of the wall so the furniture would not block the finer details.

Corner wrap!!

 And tons of fun
 The pictures don't do justice to the beauty of the metallic gold and bronze glazing. I wish you could all see it in person.
Field trip anyone??


Enjoy!!


Monday, February 12, 2018

Bathroom Remodeling in McMurray

Bathroom Remodel
Here's a spiffy bathroom renovation we were able to do for a great couple out in McMurray PA. This is a photo of the completed project and we'll continue with a walk through the process.

This was what we had to start with.

Dated tile, shower door, color scheme...

toilet...

and water damage too. The goal was a new tile floor and shower along with new toilet, vanity and fixtures.

Bathroom Remodel
Everything starts with demolition!

Bathroom Remodel
Once the tile floor was out, the sub-floor could be assessed.

Bathroom Remodel
We removed a waterlogged section of the floor and unfortunately the wall it supported. Our plumber capped the supply lines and we began the rebuild process.

Bathroom Remodel
Once the new sub-flooring, wall and plumbing was back in place the new TileRedi shower pan was installed. This is a wonderful product for tile bases!

Bathroom Remodel
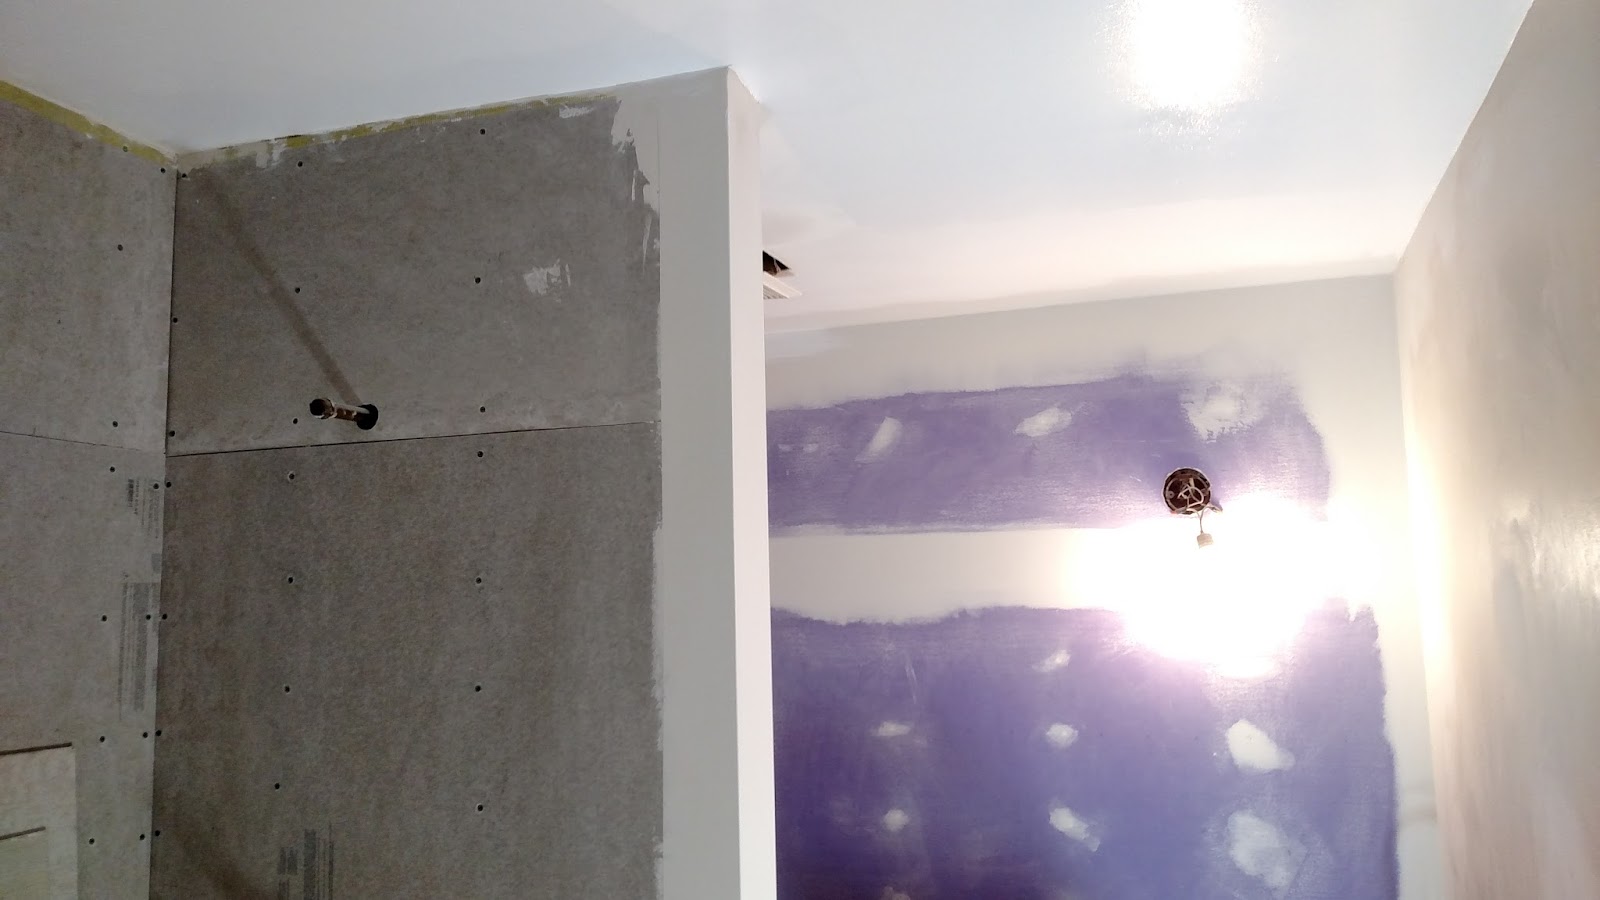
The existing walls had lots of texture from previous wallpaper removals so we replaced the damaged ones to save time in the long run. Here the new drywall and cement board for the tile are being installed.

Bathroom Remodel
Walls are in and primer is going on!!

Bathroom Remodel
Primed, and ready for paint and tile installation.

Bathroom Remodel
Shower flooring goes in first and then the step. We had a great piece of marble cut for the job at the Stone Connection out on Neville Island. They do quick wonderful work!

Bathroom Remodel
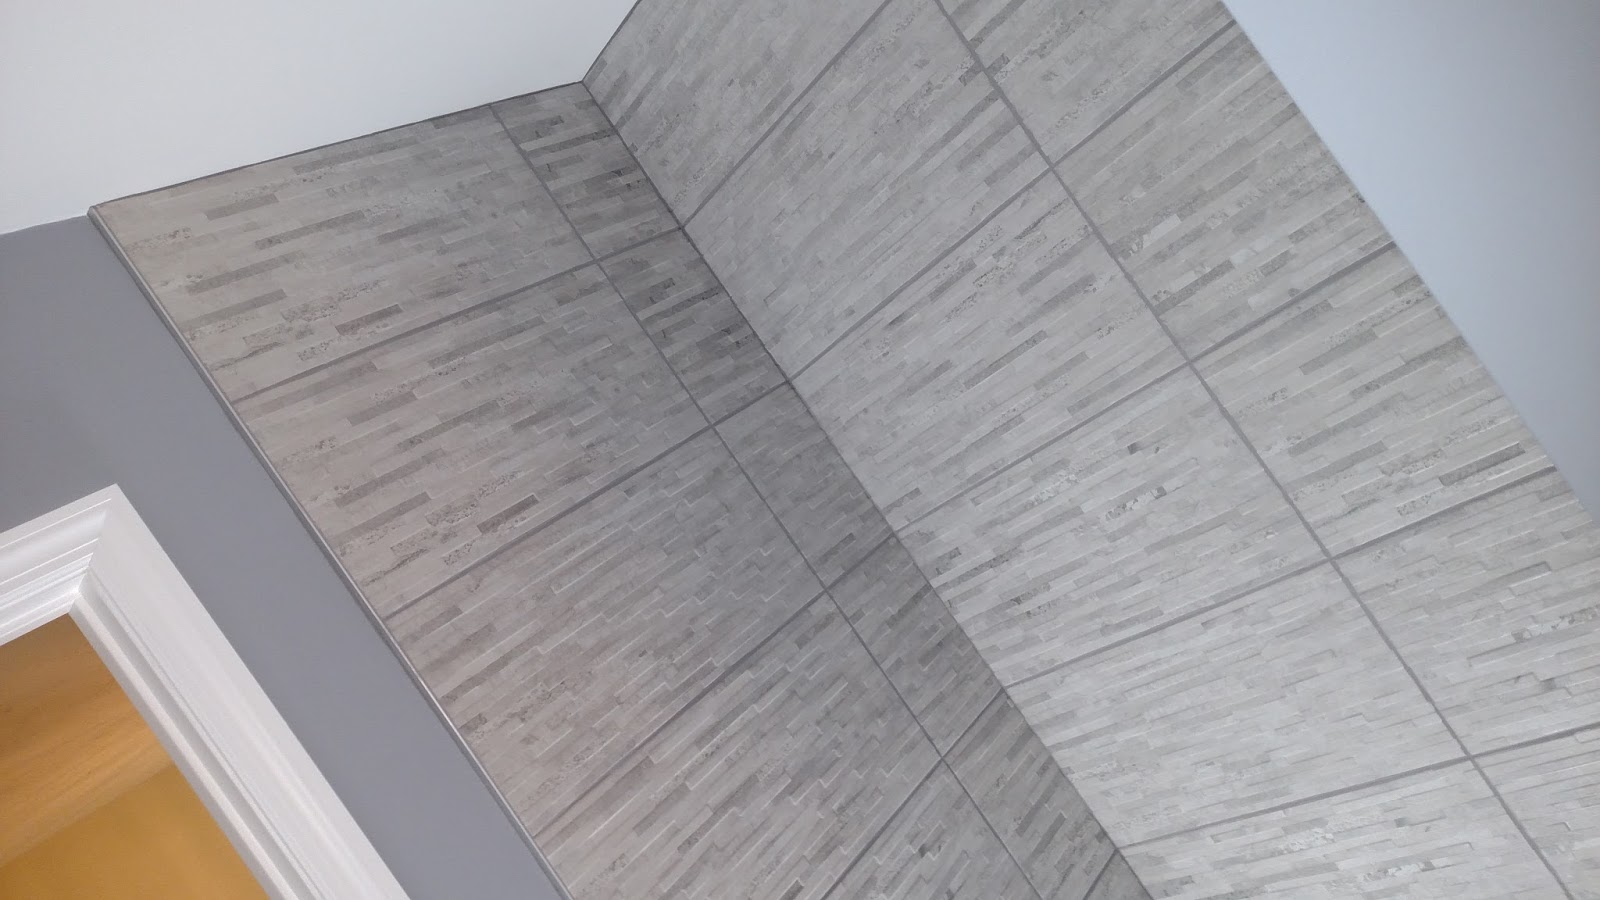
Next the walls go up!! On the edges we used metal track for a crisp finish.

Bathroom Remodel
Last, the flooring. Sorry the photo isn't fantastic but the floor is!

Bathroom Remodel
When the vanity was fitted in place, the supply lines were half an inch to short!! That's when you get in a good plumber to add an extension. A shark bite fitting would have been below the cabinet base height so not an option.

Bathroom Remodel
However, a little patience and there you have it!

Bathroom Remodel
New lighting and mirror installed too!

Bathroom Remodel
The final step was this really sweet barn style glass door from Rex Glass. They were very professional to work with from start to finish.

Bathroom Remodel
Thus another fantastic job done and with a great deal of satisfaction and happy customers, we can move on to the next one!!

Bathroom Remodel
Enjoy

Monday, November 27, 2017

Painting Turned Remodeling In Upper St Clair

We had fun on this painting turned remodeling job!Painted the old greens and yellows to current greys.

Trim bright white! Makes a classy fresh look.

As always the prep work includes patching holes. Usually from where old paintings and window treatments were hung.

Then a good coat of paint.

The bathroom was going to be painted until we convinced the Mary and Dan that it would be best to remove the dated lighting, vanity and cabinets.

So, away we went! removing it all....

and replacing it with a clean white and grey look. The original orange tile accents were an awesome touch!

Another great finish!

Enjoy

Ye Olde Bathroom Renovation

Here's a beauty we did this past Spring, Before and After


Started with finding new holes behind the large mirror.
Removed old Reznor wall heating unit, toilet, vanity and accessories.

Fun part was replacing the tile where the wall heater came from. We carefully extracted existing tile from the space where new vanity would go.

And insert old tile! Notice the holes in wall from old toilet tank which was screwed into the old tile. We filled and grouted them to be touched up in the final phase.

Here is another angle of the completed job

All walls and ceiling were painted with Sherwin Williams Duration to hold up in the changing climate of a bathroom.

The trim was painted with Sherwin Williams Pro Classic for its durability.

Final touch ups included matching tile color as close as possible to cover holes in our green tile and also three holes in the black.

Enjoy