This Steampunk bathroom remodeling project is a great extension of modeling, stage design and custom paintwork.
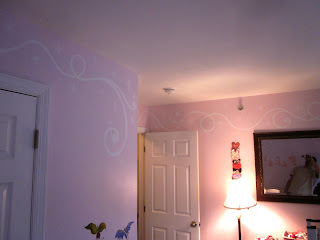
We started with purple walls and an old linoleum flooring. We'll be leaving the fixtures this go around but we'll be going with a "Steampunk" flair metallic walls and trim and simulated wood flooring.
First up was to measure and install the trim pieces and base boards. We also are adding corner caps for our steampunk feel.
Once the trim parts were in place along the ceiling, corners and walls, we prepared our base coat. We chose a dark warm green color for our undercoat and added fine sand into the paint in the tray for texture. Once the basecoat was dry we added aged bronze upholstery tacks every 12 inches for our rivets.
Our second coat is the Valspar Brilliant Metals paint mixed to "Molten Penny" The metal flakes give a unique finish to the walls and the tone changes depending on the lighting and angle you view it from. We used an angled cross-hatch technique with the application. This produced a look of a brushed metal finish.
The metallic paint will also vary in appearance depending on the base coat color.
We then used the Valspar Metal Glaze in "Bronze".
The application was a sponging which varied throughout the room. We used three pieces of sponge and continuously rotated them to not wind up with a pattern. We also had left some of the original base coat show up in crevices and corners so the metal looked aged.
The bronze glaze is very translucent and has a wonderful metallic sheen. You can add multiple applications to vary it's appearance even further. The glaze acts the same way as the metallic paint and will look different depending on the angle and lighting.
Next came the flooring. This is a unique product which can be purchased at Home Depot. The Allure flooring is a double think viyl which glues to itself on two edges. You wind up with a floating floor of planks atached to each other. It is stocked in four finishes including Pine, Oak and Cherry. This is African Darkwood and is a special order. We only needed two boxes, shipping was free and it arrived in two days.
When you are installing the planks, the piece cut off the end of your run is the piece you can start the next row with. This will vary your seems for a more natural appearance.
It can be easily scored with a sharp utility knife and snapped to the length you need. For curves or cutouts, tin snips or any heavy duty cutters will work.
Baseboards and corner molding were primed with white to give the hammered copper spray a brighter look. This creates a great transition from finished floor to walls.
Here the new brushed bronze shelving unit was installed. Eventually additional Steampunk accessories will complete the look.
Enjoy!


