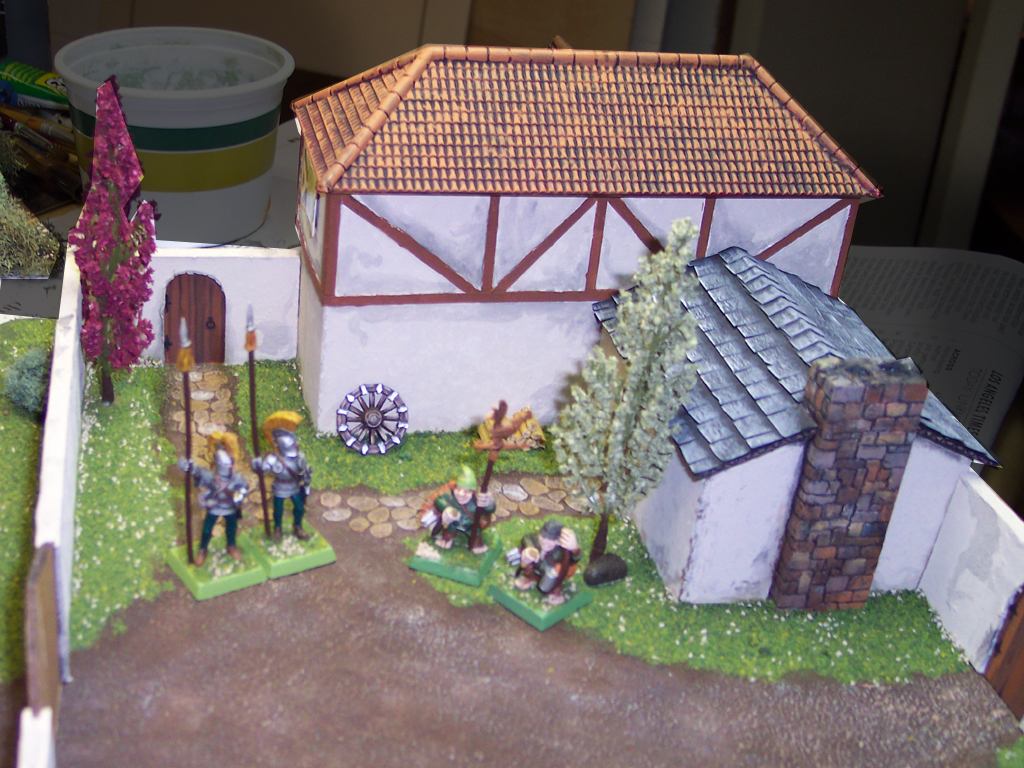
If you have a rough game of Warhammer where the opposing force has a castle, a siege tower is a necessity. After Joshua and I had started our own castle it was apparent we’d need some good siege equipment to lead the attack. We thought a good battering ram, a catapult or trebuchet and lastly, a couple siege towers.
 Cardboard was plentiful that Saturday afternoon, so the siege tower began. We took several measurement, wall height, archer height and base width etc. The tower would need to be tall enough to drop invaders off on the wall and provide cover fire for a successful storming of the castle!
  We cut the sides at an angle to provide a wider base and once the outer wall was cut we cut 4 floor pieces. One for the base, one for the men attacking once the door dropped, one for the first level of cover archers and then the top for another rank of supporting archers. We cut out the door and one window for the arrow slits. Remember to measure twice or even thrice and then cut. Once the floors were glued in, Elmers or craft glue will work, we could start the covering. Always check your measurements before the glue dries.
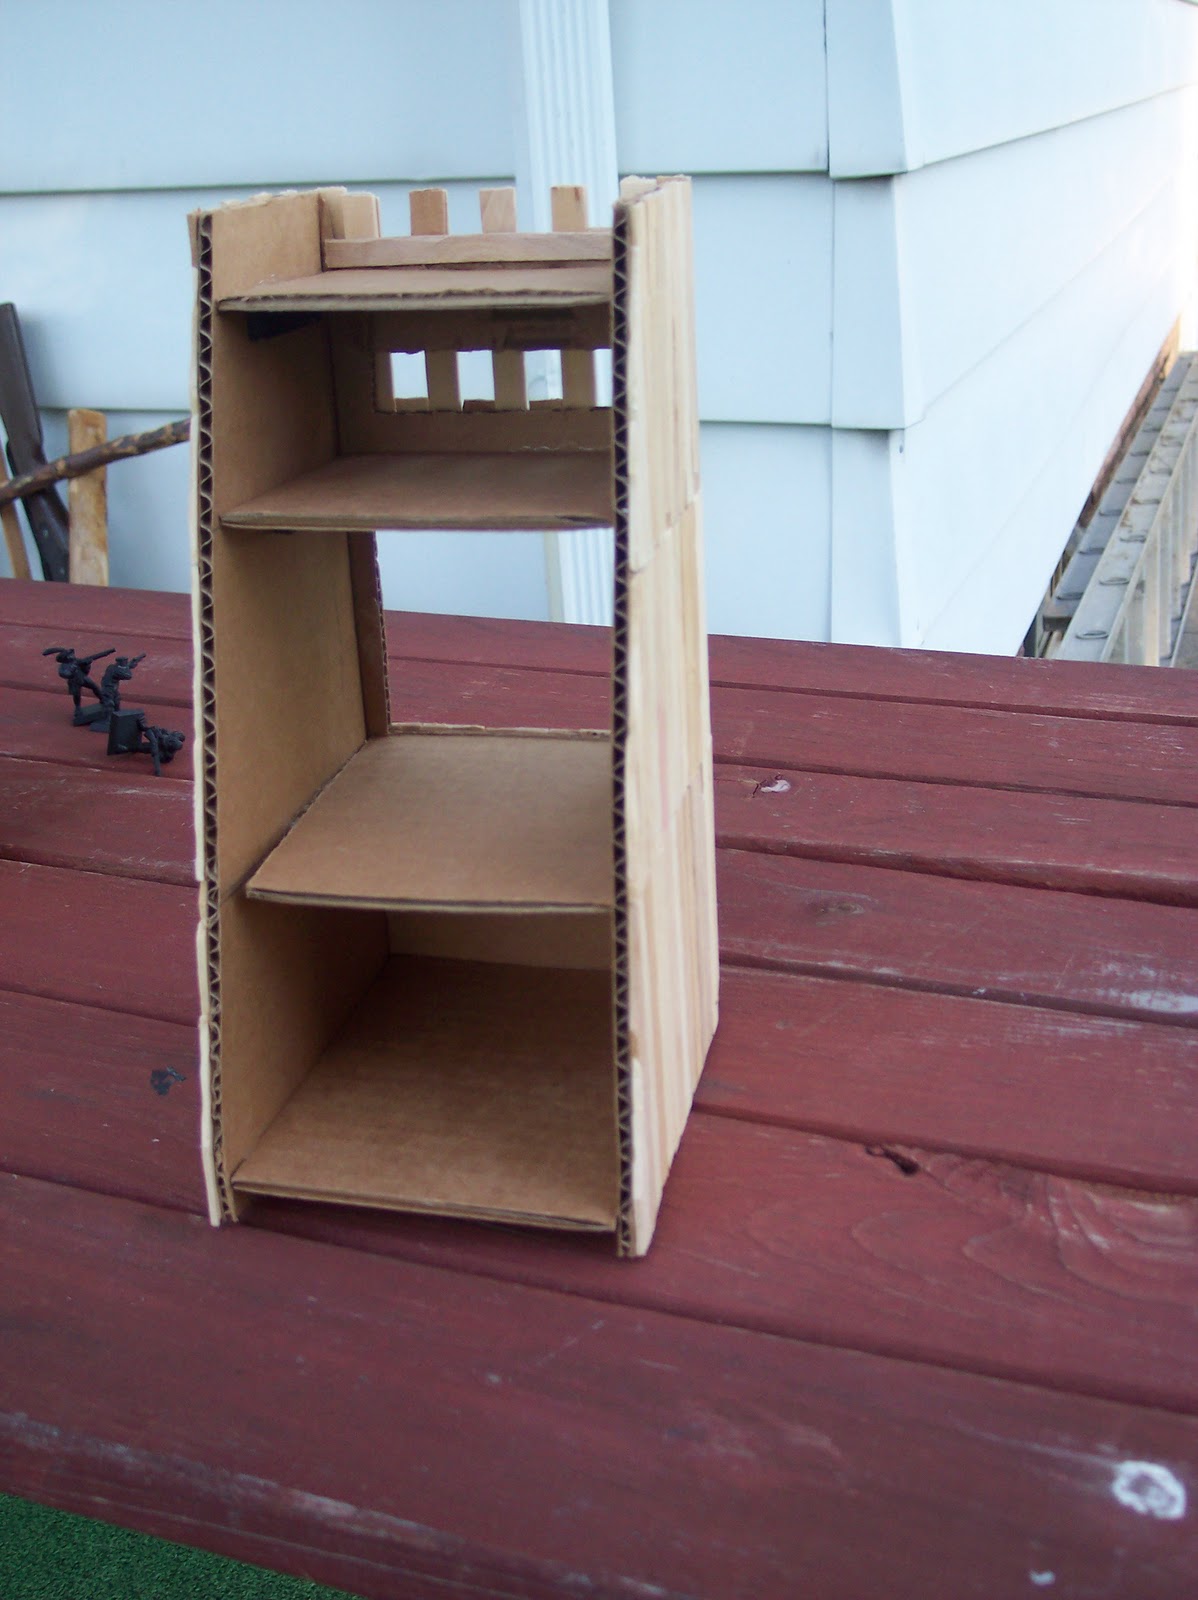
We cut three successive levels of popsicle sticks to size with a hobby knife and cut chunks out of the sides to give it a less uniform appearance. We glued tall sticks over the one window to form the arrow slits in the middle of the tower.
 Cutting the angled sticks can be difficult, be careful not to split the sticks, but if you do hang onto them for now. Use several light successive cuts to score the stick and eventually you’ll get through it. Remember knives can cut through a finger pretty cleanly. Have a friend that knows first aid over just in case.
On to mobility. We planned three large wooden wheels shod in iron bands for each side. We had picked up some wooden disks in a bargain bin so decided they were the perfect size.

We took the popsicle stick pieces and actually cut some additional ones. Glue them side by side on the disks. Using the hobby knife score the sticks from around the back of the disks to create the basic wooden wheel.

Measure the thickness and circumference and using a thin cardstock, we used a box from the Madagascar red tea we just finished, wrap it around your wheel and thoroughly glue it on. Using a drill we cut holes in the center of each wheel for the axles which were cut from a long dowel.

For the door to drop open, we glued on a coffee stirrer and pinned it in using round toothpicks so it would fall open. Screw a couple tiny eyelets onto the inside beam of the door for the “chain” to hold it in position. A couple more on the bottom of the floor above allow it to pull up to a closed position. I scored a great little piece of technology while recycling some old electronics which had two spindles with thin copper wire. We ran the copper wire through the top eyelets and attached them to the door. This allows us to crank the door up and down.

 After everything was ready we primed it all black. Successive layers of browns were brushed on starting with burnt umber, then coffee bean and then nutmeg. Highlights were dry brushed with beige along the edges.
 Now we load it up with attackers, deliver them safely onto the wall and storm the castle!!