Well finally, here it is, the steampunk gameroom job as it stands. I do have several plans for additional details but alas time has not permitted those to become reality just yet.
Many of you saw these starting images back in November of last year. Everything had to come down and be stuffed somewhere. All the carpeting was also removed. This meant the filing cabinets had to be emptied so the carpet could be pulled out from under them.
The couch, chairs and cabinets were the biggest problems. British Racing Green was the other problem. From days gone by when the room was built it was a great color.
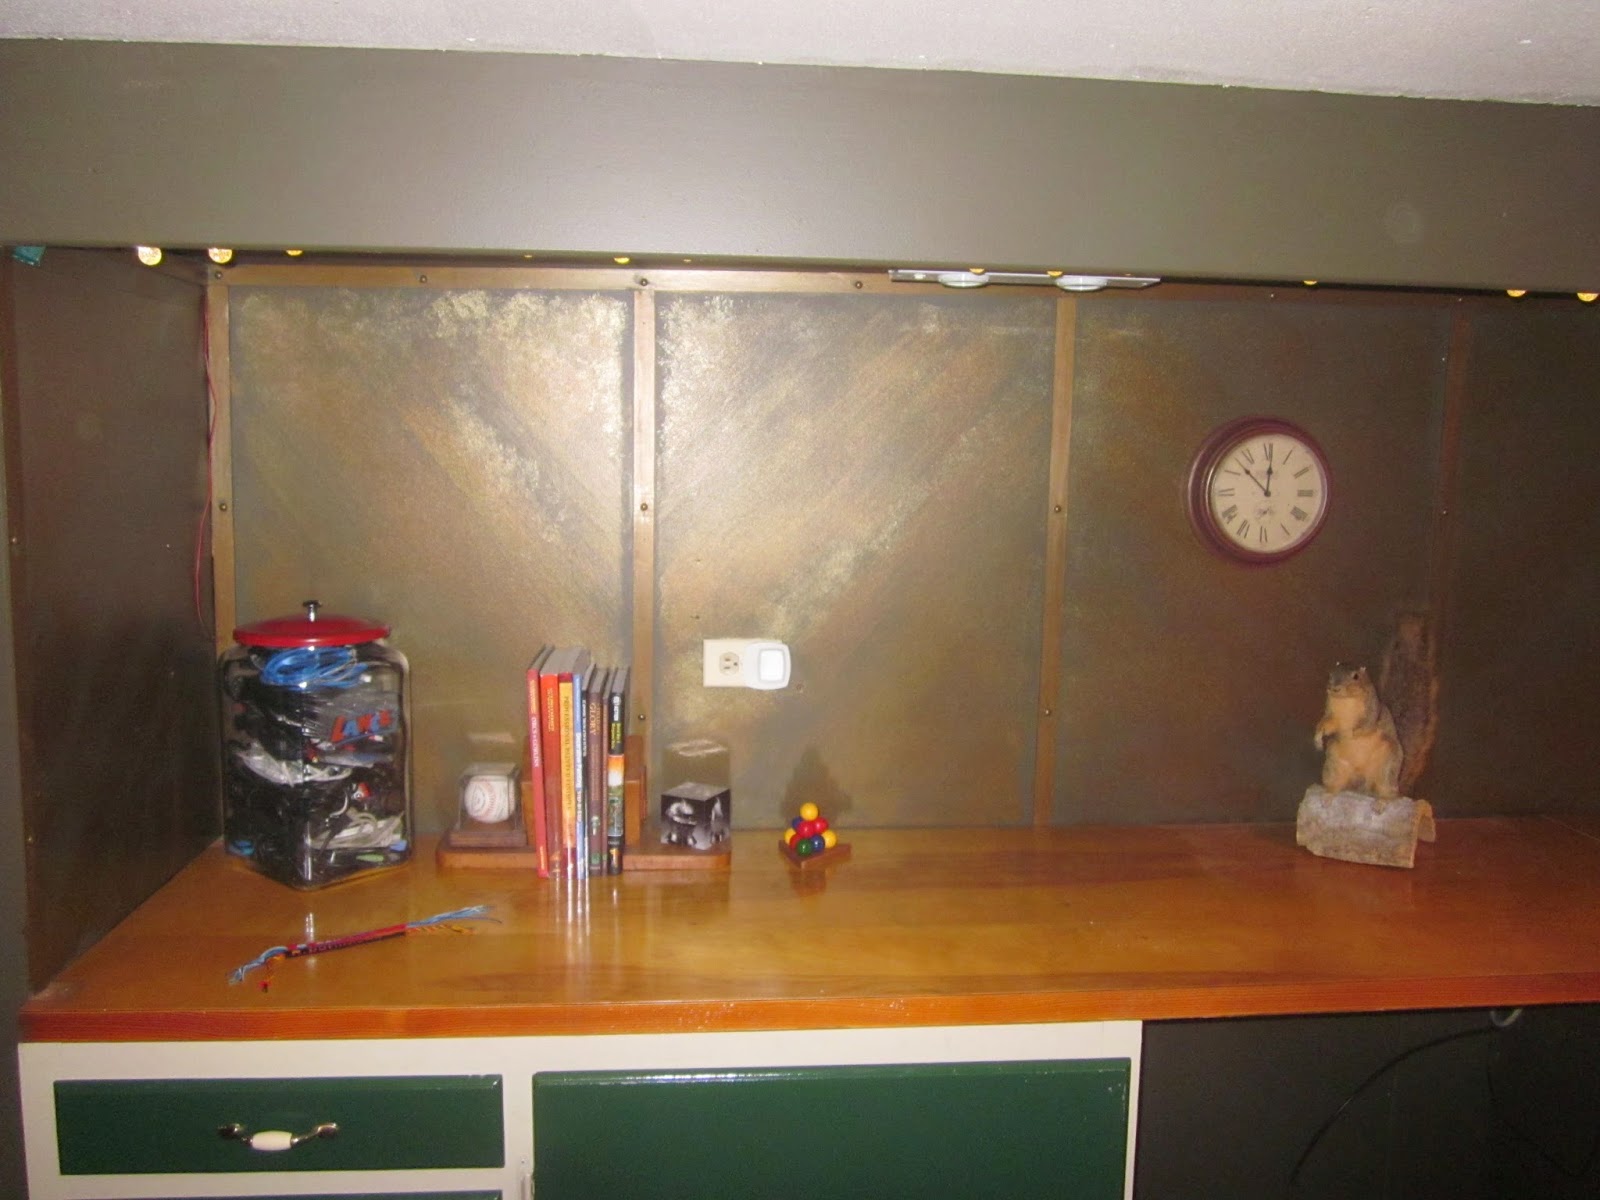
The theme is to have a worn brushed metal appearance, very industrial, with a girder and rivet look.
To start, lattice strips were hung along all the wall tops and every two feet vertically. Corners were also trimmed in the lattice strips.
Where counters, permanent shelving and cabinets are the vertical strips were cut to fit.
Here's an overview during the girder phase.
All girders are up, corners and ceilings covered, time to add rivets.
Using bronze upholstery tacks, we nailed one in every 12 inches. Lost count after 200.
Next came our base coat of paint. Using a dark green/brown we covered everything. This will give our metal coat a nice base to show through.
Using a metallic paint called "Molten Penny" from Lowe's Valspar Brilliant Metals collection, I applied it in alternating 45 degree angles. It was brushed on lightly, building up a few layers and avoiding the corners and edges along the girders. This is where dirt and grime would collect the most.
Here with the flash you can get a better look. The darker background paint showing through begins to look like wear and tear on a former shiny metal surface.
Another view, you can see the wear and tear look a little better. The shelving supports were all painted flat black.
Last wall painting step is the patina which we applied with various sponges.
The final painting stage was the floor. Here we used a PPG Porch and Floor Enamel. To keep things consistent the paint was carried up the only remaining block wall by the stairs. You can see some of the bronze patina on the wall too.
OK, shelving going back up!
File cabinets back in place and a new area rug from The Home Place. The cabinets will get a wood refacing in the near future.
Refinished gaming table in its new home. If you want to see how we did the table project, check the hobby blog.
And there it is, our Steampunk Gameroom.
The far corner received an old frame and print from a garage sale.
The bow case, blaster and goggles all have a new home now too!
Cabinets will get done when the weather warms up a bit.
And the doors will also get a new facelift at that time.
So, for now its time to sit down and play some games!
Enjoy


No comments:
Post a Comment