Friday, November 9, 2012

Photoshop with Steampunk Backgrounds

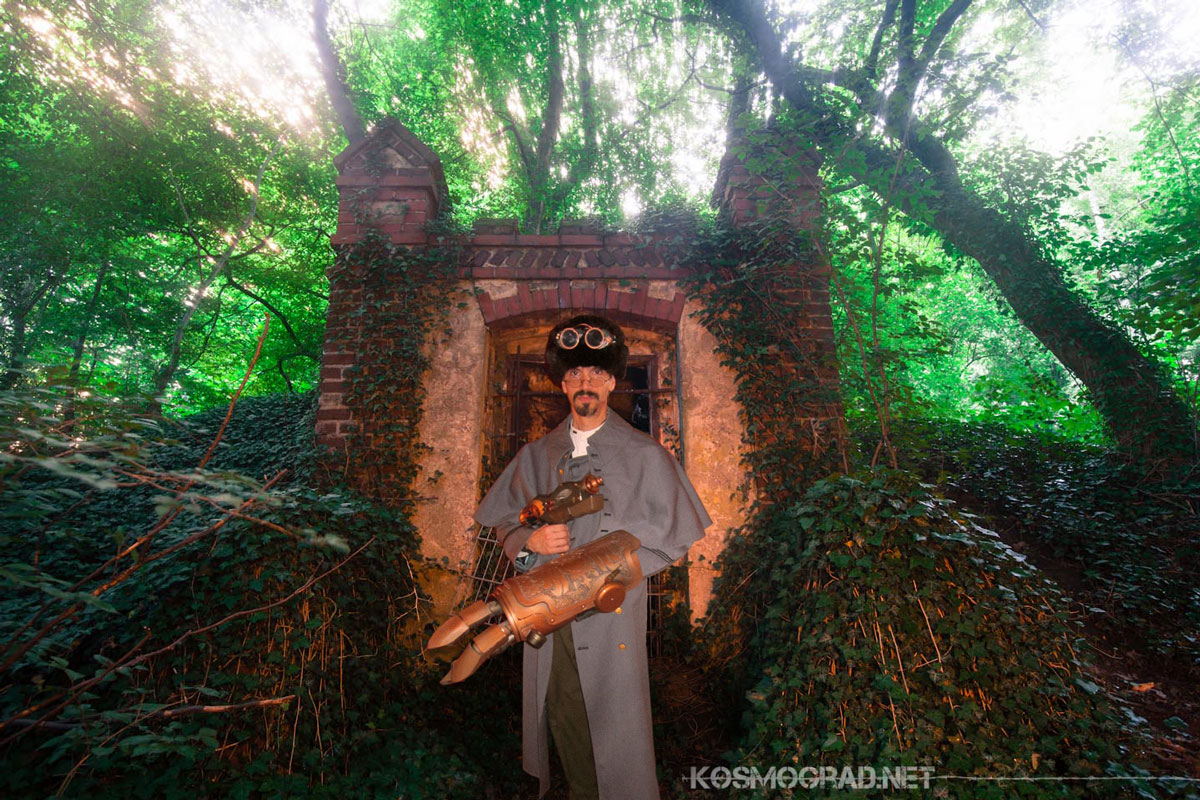
We worked with Battleground Hobbies creating several cool Steampunk props. You can see how they were built on the Battleground Blog. There is the Raygun Pistol, sword and holster, Goggles, Raygun Rifle and Power Claw. Some of the posts show photos of the entire ensemble and many individuals asked where the location shots, like this one,  were taken.

Well, they weren't in any exotic location, they were all taken in a nearby urban neighborhood. The beautiful backgrounds were taken throughout Europe and supplied by Kosmograd.net. You can view his Photosteam on Flickr. Using the wonderful tool of Photoshop, we did photo composites of the individual photos.

Take the image above. The "Steampunk Vostroyan Guard" came from this photo:

And the Kosmograd background titled "Where's Waldo" taken in Belgium looked like this:

First, he background was flipped horizontally so the lighting matched better. The Guard was cut from the group photo, inserted and scaled to fit. His lenses were darkened and hat brim lowered to cover the space above the goggles.

Using the "levels" highlights and shadows were adjusted and the "dodge" tool was used to lighten the right side of the hat and shoulder. The final touch was a lens flare. Gotta love the lens flares.

This was another shot on the front porch. Not very appealing as a background.

So we found this one from Kosmograd. I immediately fell in love with it. The background  from an old plant in Germany, lighting matched almost perfectly

Once the guard was outlined we dropped him in and adjusted his color.

The last image is from a water supply also in Germany. The lighting was truly beautiful.

After cutting the guard out, he was inserted and the lighting needed adjusted. Adding in the orange glow to the guard was the finishing touch.

Have to say we had a blast building the props and compositing the images.

Enjoy!

Monday, October 29, 2012

Painting Projects on the New and the Old

Here's a few projects we recently finished. Just to show it doesn't matter if you have a nice new townhouse or...

a 125 year old historically significant dwelling. Hendersonworks can handle any project.

The first house here was a living and dining area. The living room had minor cracking in the plaster and a wonderful accent wall with the fireplace.

The dining area was separated from the living area by an archway. It had substantial issues with the ceiling...

... including a large crack across the room and paint peeling.

The walls and ceiling were prepped, sanded and a nice cream Behr Satin paint was applied to the walls and Behr Flat to the ceiling.

A very nice deep red was used to accent above the fireplace.

The dining are took a lot of additional prep but came out nice in the end.

The Dining area had an accent wall also, sporting built in wooden doors with glass panes. As you can see, this wall was also painted with the red accent color.

Overall the project was a success and the homeowners were very pleased.

The second project was a new house in Cranberry. The one year waiting period was over, inspection finished and read to paint.

We started with the living area and bathroom. Here is the left side of the living area..

center with fireplace and color swatches..

and right side ends at the kitchen.

The bathroom is one on the main floor for guests to use when visiting. Once again you can see the color test swatch on the wall.

The walls were painted a beautiful slate gray..

Which worked well with the fireplace stones....

and the tile on the adjoining kitchen wall.

The bathroom took on a warm feel with the mocha paint the homeowner decided on.

If we get back for some shots with furniture and paintings back in place we'll update this post.

Enjoy


Tuesday, September 25, 2012

Porch and Patio Renovations and Creations in Bethel Park

Porch RennovationDuring the past few weeks of beautiful weather we were able to do a porch and patio renovation.

Renovations consisted of removing the old porch railings, the scalloped header and shutters on the porch window.  Then patching sanding and painting. Creation consisted of removing some vegetation adding a free-form stone patio off the porch and a stone walkway on the side of the house. Here's the start with the railings and half of the scalloped header already removed.

Porch Rennovation
Once the scallop was off the homeowner liked the amount of extra light and decided not to replace the header. This left the ends of the beams exposed. We decided on some nice short trim and created two decorative caps for the beams.

Finished Porch Rennovation
Here's the porch  with no shutters, finished trim, painted...

Finished Porch Rennovation
and being enjoyed!

Patio Creation Before
Now onto creating a patio and walkway. The Patio will require removing one of the holly bush and some foliage just off the side of the porch. .

Patio Creation Before
The curve will follow the pachysandra bed seen on the left. We decided on tumbled blue stone from Federouch Supply. It's a good hard stone and has a lot of shapes. This will allow the asymmetrical look the owner likes.

Completed Patio Creation
Here's the view of the completed patio from the porch. A great deal of pain went into avoiding to many straight lines when laying the stones.

Completed Patio Creation
Here it is from the yard. The remaining holly bush was reshaped to go with the new surroundings and a few decorative stones were also added in the ivy patch.

Stone Pathway Creation Before
Now the walkway on the left side of the house starts just off the front walk, where the flower pots are sitting, and wraps around and down through a set of field-stone steps.

Stone Pathway Creation Before
 And goes through the jungle.

Stone Pathway Creation After
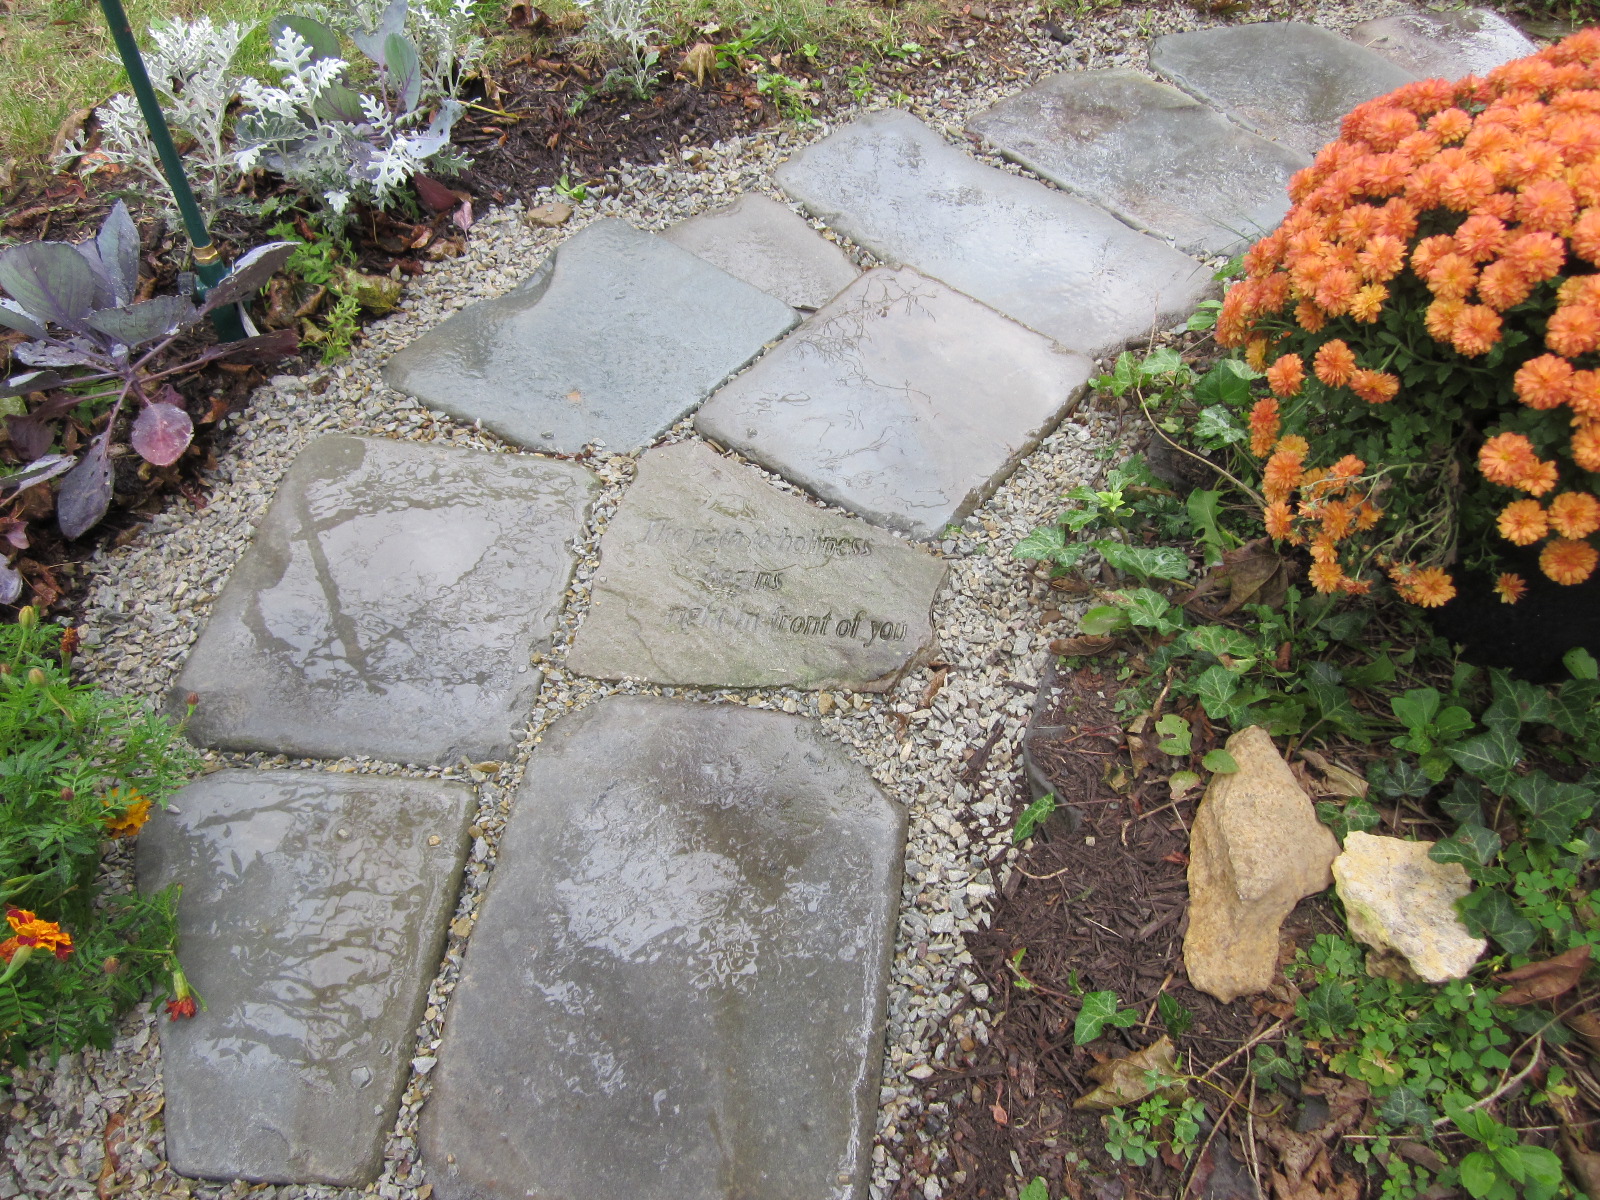
This is what the path entry looks like now. The stone are a very nice shade of blue with veins of browns running through some pieces. The color is much more apparent when wet.

Stone Pathway Creation After
And now you can see the steps and new path! It was supposed to be an informal pathway like when you go on a hike through the woods. It goes a long way to connecting the front porch and walk to the rear deck and gardens. Everybody involved was happy with the final project!

Enjoy, we did!

Tuesday, September 18, 2012

El Toro!! Vintage Motorbike or not?

Well here's a question for you, is El Toro an awesome vintage bike? OK how about is it really vintage or is it just old? There are a few clues on the bike itself..

Like the 1972 Peso...

Or the 1983 Lone Star Rally Champion detail.

But if you are familiar with Hollywood's work, you know his unique ability to distress a vehicles paint work to appear like its been there for years.

Yes, this is a NEW paint job.

Hollywood goes to the extreme in his work

Always stretching the boundaries of what can be done in distressed paint techniques. We think El Toro is the best yet

It's easy to admire the simplicity of carrying a line throughout the bike...

It's another to make it look like it's been there for years! Yes, this is still part of a new paint job.

The crackling and rusted areas easily fool most of the die hard cyclists and hot rodders alike.

Here's more details on the head light, including part of a shell casing.

One more detail shot of the tank...

Enjoy!